
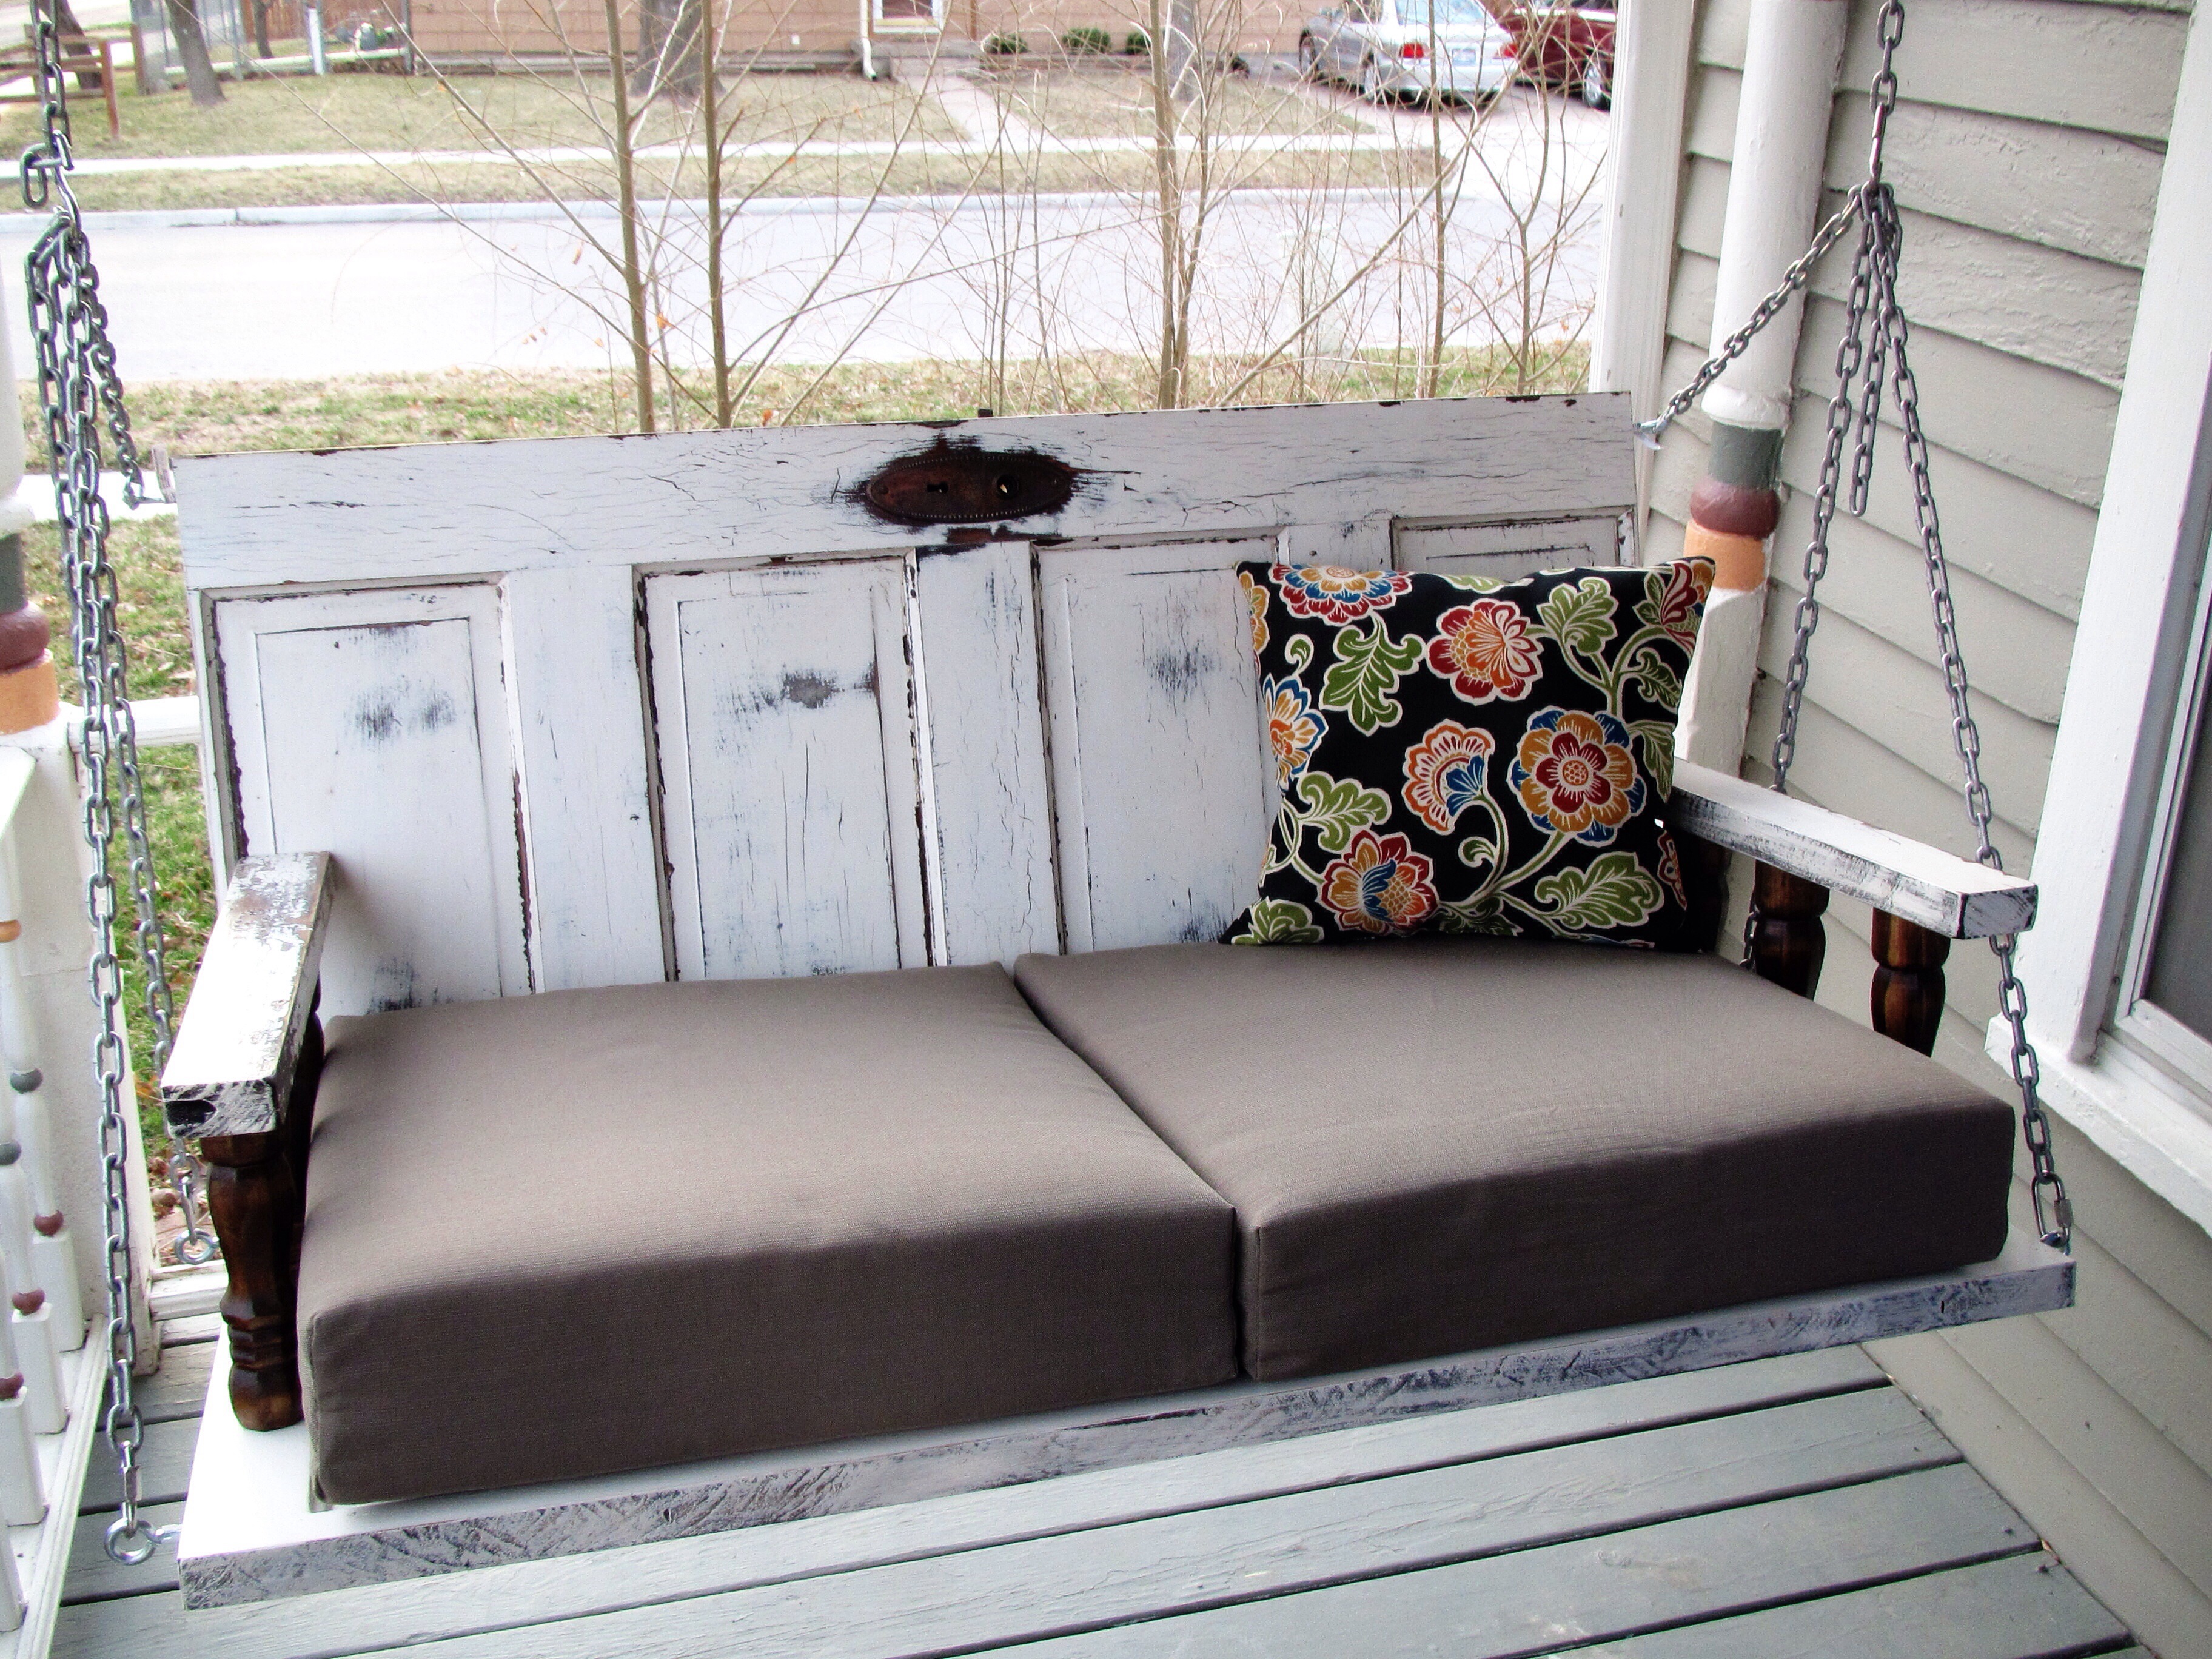
It all started on the first Saturday of Spring Break. The temperature hit the low 70s with a light breeze, which felt almost balmy after our frigid winter. Tony was in the backyard reading on his hammock while I was on the front porch sanding down the leaves of our dining room table, preparing for our upcoming party, and thinking to myself that I wanted a place to lounge and read. (I’m not welcome on the hammock, at least not when Tony’s on it. Besides, it’s too hot with two. : ) So, I asked Tony to help me make a porch swing out of old doors.
Our house is very open now, but we know it wasn’t always that way. As with most houses built in the late nineteenth and early twentieth centuries, ours was originally built with doors between each of the rooms. Most of those original doors are stored out in our shed, having been taken down many, many years ago. I’m relatively confident that most of them wouldn’t fit nowadays anyway, due to all the settling that’s occurred. So I have no desire to try and put those doors back up, as I love the openness of our main level, but we also have no desire to get rid of them. In fact, we want to repurpose as many of them as possible! Thus, it seemed like a great idea to create our porch swing from two old doors!
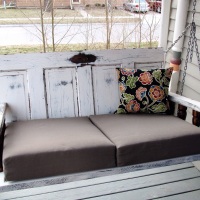
The result was even better than what I’d hoped for!
How did we get to that point? I did some research online and found lots of great photos of swings and porch beds constructed from old doors. However, I was surprised to find, there were very few tutorials out there. We found one here, but it didn’t have any pictures, so it was hard to visualize some of the instructions. Besides, the doors we had available had different dimensions than the ones listed, so we had to make some adjustments anyway. I’ll do my best to explain it here.
Materials List:
2 doors
circular saw
chalk line
6 eye hooks
2 S hooks
6 carabiner clips
a bunch of 3 or 4 inch nails
2 L Brackets and several 1.5 inch screws to attach them
6 nine inch chair legs (optional)
palm sander or sanding block
paint and sealant (I had polyacrylic on hand, but polyurethane might be better)
2 eye hooks (to hang the swing from the porch ceiling)
2 long lengths of chain (to connect to the porch ceiling hooks)
6 lengths of chain (to hold and stabilize the swing)
Steps:
1. Choose your doors. You need them to be solid core doors. If they’re not finished, you may want to stain or paint them before use; just know you’ll need to touch things up after you cut and sand. Tony had sanded this one down for our new bathroom door, but it was too big. I knew I wanted this to be the swing’s back because I loved that patina!

We had a couple other doors that had been taken from our old Master bath, and which we won’t need anymore, so we used one of those. It doesn’t look like the other door, but I knew I’d cover it with a cushion anyway.
2. Determine the size swing you want and cut the doors accordingly with the circular saw. You can use the chalk line to help ensure you cut a straight line. During this step, think ahead to how you want your swing finished. I knew I wanted a deep swing seat so I could take a nap on my swing, but I didn’t think about the cushion dimensions! I ended up finding these deep seat cushions at Target, but I had to do a lot of looking!
 You’ll probably want to cut off on the hinge side of the door, since there will be a hole to hold the latch mechanism on the other side. You’ll use the smaller piece of this long thin cut for the arm rests.
Cut the swing back at a straight 90* angle, but cut the swing seat door at a slight angle (10* or so) so you have a more comfortable swing. When they fit together, it should look like this:

3. Attach your 2 doors together with the 3 or 4 inch screws. The eHow page suggests every 6 inches or so, but our door was a little different. Because of the inset panels, we had to use shorter screws, so we spaced ours just a couple inches apart.
 This would also be a good time to attach your L brackets, which will further stabilize your swing. You’ll need to bend the brackets slightly, if you angled your seat back, before attaching them with 1.25-1.5 inch screws.
If you’re going to seal your chair, this would be a good time. Don’t forget about the arms and supports too. It’s harder to paint them when they’re attached.
4. Cut your armrests and support pieces. Make sure you cut the armrests at that same angle as the seat so they match up with seat back. Then line everything up your support pieces. We decided to use premade chair legs to give the swing a little flair, but you could use other scrap pieces of the door instead. Sand and paint, if needed, the armrest and attach the supports/chair legs to them.

Attach the whole piece (armrest and support(s)) to the chair seat with long screws from underneath and to the chair back with long screws from behind.
5. Attach your Eye hooks and hang your chain. Two hooks should go in each side of the seat, one at the front and one at the back.

Put an additional hook at the top of the seat back. Then connect the shorter chains to the eye hooks using the carabiners. Gather all the chains together and connect them to the S hook. Now you’re ready to hang your swing from the porch ceiling.

Enjoy your awesome and unique swing!!

Check out our link at Make It and Love It!
<a href=”http://


Great job, Lindy!
Stunning! Beyond really!! Can’t wait to swing the summer away!!
So impressed! I think you found a new calling!
Unbelievable!!!! Again you two are so amazing!! Can’t wait to swing
Love it! Thanks for the tutorial. I seriously might make that to go under my tree house. Just gotta find some cool old doors now…
I love this idea! Thank you for the tutorial. Now I just need a covered porch:)
Pingback: 7 dramatic upcycles for your garden
Pingback: Outdoor Chandelier | A Guy, A Girl, and a Really Old House!
Pingback: 17 Crafty Ways to Reuse Old Doors - The Most Viral collection of feel good stories & videos, delicious recipes and awesome DIY projects
Pingback: Enliven Your Porch With Comfy Swings - The Veranda of ideas
Pingback: 19 Marvelous Porch Swing Designs For Spring Enjoyment | homedesignfind
Pingback: 19 Marvelous Porch Swing Designs For Spring Enjoyment - The Veranda of ideas
Pingback: 19 wunderbaren Veranda Schaukel Entwürfe für Frühjahr Genuss | iHousDekor
Pingback: 19 Marvelous Porch Swing Designs For Spring Enjoyment | Home Design Ideas
Pingback: Mom spent $40 on an old, dirty door, transforms it into a beautiful piece for the home | FrankoPolo
Pingback: Mom spent $40 on an old, dirty door, transforms it into a beautiful piece for the home – Viral DIY
Pingback: Brilliant Repurpose Old Door Ideas Without Spending Money - The ART in LIFE
Pingback: Never Throw Out an Old Door. Here Are 15 Ways to Upcycle It. - DIY
Pingback: 16 Brilliant Re purpose Old Door Ideas – Dreams in Life
Pingback: 55 recycle doors ideas to greatly improve your home decor
Thank you soooo much for this detailed tutorial! I have been wanting to make a swing for a long time but didn’t know where to start. Now I have detailed instructions and pictures! Ready to make my swing!!
Pingback: 15 DIY Porch Swing Plans For Relaxing Outdoor - Teb DIY
Pingback: 36 DIY Porch Swing Plans To Make At Home - DIYsCraftsy